
Key Takeaways at a Glance
- Always read your target PSI from the Tire and Loading Information placard inside the driver’s door jamb—NOT the maximum pressure printed on the tire sidewall.
- Check tires "cold": parked for at least 3 hours or driven less than 1 mile at moderate speed.
- Never bleed air out of a hot tire right after highway driving; tires naturally gain 3 to 5 PSI when warmed up.
- Remember the 10°F = 1 PSI rule: a 30°F autumn cold snap drops every tire by roughly 3 PSI overnight.
Checking tire pressure is the easiest DIY task in automotive care, yet two common mistakes—reading the wrong PSI number off the tire sidewall or measuring hot tires right off the interstate—leave millions of US vehicles either dangerously underinflated or harshly overinflated.
Follow this exact four-step method once a month and before every highway road trip.
Four-Step Cold PSI Procedure
Use a personal digital or dial gauge kept in your glovebox rather than relying on battered gas-station air-hose stick gauges, which are frequently dropped and out of calibration.
- Step 1 — Read the Door-Jamb Placard: Open the driver’s door and note the recommended Front, Rear, and Spare cold PSI (note that trucks, vans, and some SUVs specify different front vs. rear numbers).
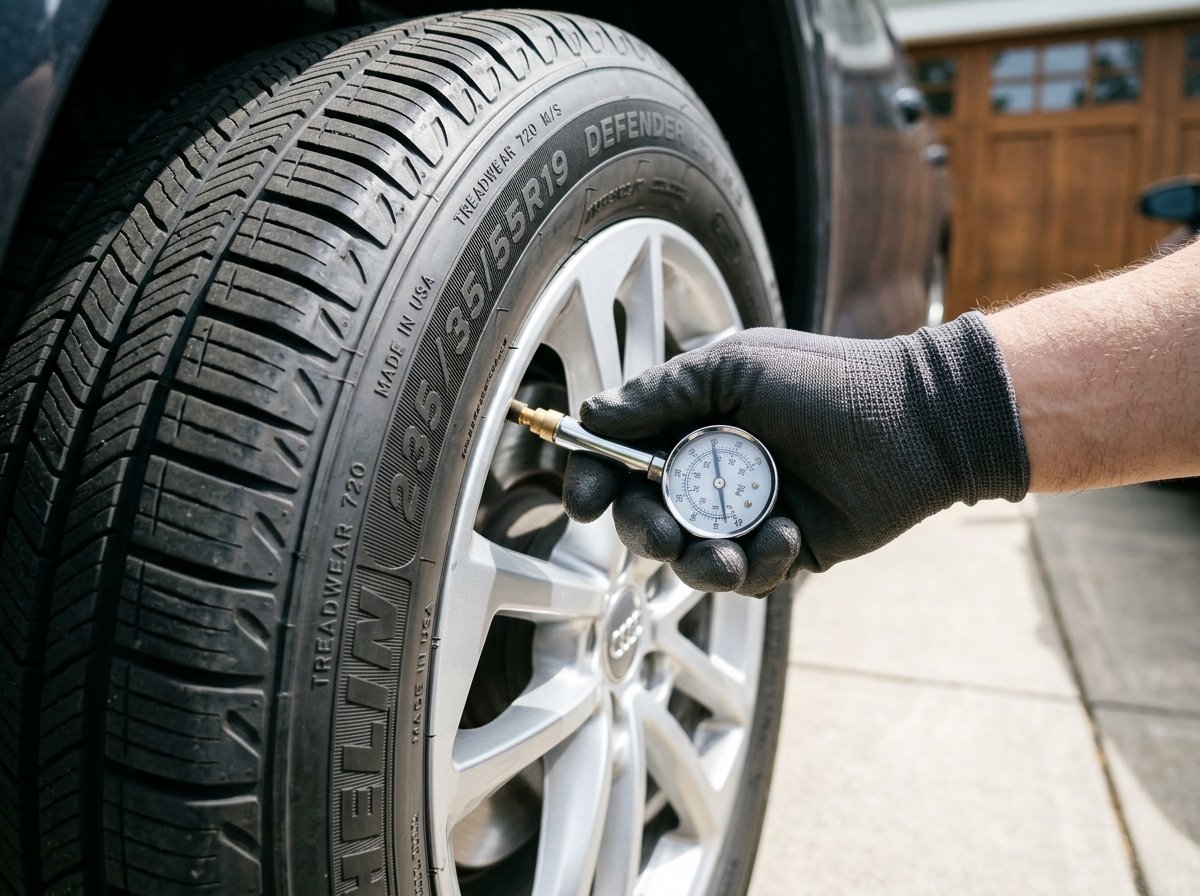
- Step 2 — Unscrew Valve Cap & Measure Squarely: Remove the dust cap, press the gauge firmly and straight onto the brass valve stem, and note the exact PSI.
- Step 3 — Inflate or Adjust in Short Bursts: Add air in 3-second bursts and re-measure until matching the placard. If slightly overinflated while cold, press the tiny center pin inside the valve stem gently to release air.
- Step 4 — Reinstall Valve Caps: Always screw dust caps back on tightly; they keep road salt and grit out of the delicate Schrader valve core.
Why You Cannot Rely on Your Dashboard TPMS Light Alone
Under NHTSA Federal Motor Vehicle Safety Standard (FMVSS) No. 138, Tire Pressure Monitoring Systems are only mandated to illuminate when a tire drops 25% below the placard value. On a car specifying 32 PSI, your TPMS lamp may stay dark until a tire sinks to 24 PSI—already soft enough to increase heat buildup, hurt wet handling, and cut fuel economy.
If a single tire repeatedly loses 3 or more PSI every week while the other three hold steady, do not keep topping it off—have a tire shop inspect for a nail puncture, leaking valve stem, or corroded alloy rim bead.
Frequently Asked Questions
If the tires are already warm from driving, measure them and add about 3 to 4 PSI above the cold placard spec temporarily, then recheck and fine-tune the next morning when the tires are fully cold.
A blinking TPMS light at startup indicates a system malfunction—most commonly a dead internal battery inside one of the wheel-mounted TPMS sensors (which typically last 7–10 years) rather than low air pressure.
Conclusion
Keeping a $15 gauge in your center console and checking cold PSI on the first weekend of each month takes five minutes and pays back immediately in safety, comfort, and tire longevity.
Editorial Review & Archive History
Editorial Attribution: PhilAuto Tire, Brake & Chassis Review Group
Original Publication: March 8, 2021 ·
Latest Technical Review: February 27, 2026
- February 27, 2026: Added blinking vs. solid TPMS fault explanation and FMVSS 138 context.
- March 8, 2021: Original guide published in the PhilAuto US Automotive Archive.
Authoritative US References
- National Highway Traffic Safety Administration (NHTSA): TireWise: Tire Pressure, Tread Depth & Replacement Standards
- U.S. Tire Manufacturers Association (USTMA): Tire Care & Safety Guidelines (Inflation, Rotation & Service Life)